Conversion kit installBattery mountingMid-drive & hubWiring & safetyTuning & troubleshooting
Safety first: E-bike batteries can deliver very high current. Always turn the battery off before working, avoid shorting connectors, and add a fuse near the battery positive lead. Keep wires away from spokes, rotors, chainrings, and suspension pivots.
What You’re Installing — The 2 Build Paths
Path A: Mid-drive kit
- Best for: hills, efficient climbing, balanced handling
- Main focus: bottom bracket removal, motor fitment, chainline, shifting technique
- Downside: more drivetrain wear (chain/cassette)
Path B: Rear hub motor kit
- Best for: simpler feel, less drivetrain load, value builds
- Main focus: axle/dropout compatibility, torque arms, wheel alignment
- Downside: rear-weight bias; overheating risk on steep hills
Compatibility Checklist
Record these measurements before buying:
- Wheel size: 26”, 27.5”, 29”, 700C, etc. (hub wheel must match)
- Brake type: disc vs rim; rotor mount and rotor diameter
- Rear dropout/axle: quick release vs thru-axle; spacing (135 / 142 / 148mm etc.)
- Bottom bracket shell width + type: (mid-drive) common 68–73mm threaded BSA is easiest
- Battery mounting space: inside triangle vs downtube vs rear rack
- Desired voltage: 36V / 48V / 52V — must match controller/motor spec
Bike tools
- Hex keys / Allen set
- Torque wrench (recommended)
- Crank puller (many bikes)
- Bottom bracket tool
- Cassette tool + chain whip (hub installs)
- Side cutters + cable ties
Electrical & mounting supplies
- Heat shrink + electrical tape
- Dielectric grease (for connectors)
- Spiral wrap / abrasion sleeve
- Threadlocker (medium strength) for bolts
- Inline fuse near battery positive
Parts Checklist
Core components:
- Conversion kit: motor + controller + display + wiring harness + speed sensor
- Battery: correct voltage, enough Wh for your range, suitable discharge capability
- Battery charger: matched to battery chemistry/voltage
Strongly recommended upgrades:
- Brake cut-off sensors — especially if you use throttle or ride in traffic
- Torque arms — essential for most hub motor installs
- Better brake pads / larger rotors if you increased speed/power
- New chain if your drivetrain is worn (mid-drives amplify wear)
Battery Placement & Mounting
Best locations (ranked)
- Inside triangle: lowest + centered (best handling)
- Downtube mount: common and stable if mounted well
- Rear rack: easiest but worst handling + vibration stress
Mounting mistakes to avoid
- Using only 2 bolts with no backup strap
- Routing main power cable where it can rub the tyre or chain
- No fuse near the battery (short-circuit risk)
Install Steps: Mid-Drive Conversion Kit
1
Remove cranks and bottom bracket
Shift chain to the smallest ring. Remove pedals (left pedal is reverse-threaded). Remove crank arms with a crank puller. Remove bottom bracket with the correct BB tool. Clean the BB shell threads and lightly grease.
2
Test-fit the motor and check clearance
Slide the motor spindle into the BB shell. Check clearance at the chainstay and frame. Confirm the motor can rotate into its final position without hitting the frame.
3
Mount the motor, lock rings, and stabilizer hardware
Thread on the inner lock ring (hand-tight first), align motor angle, then tighten. Install the outer lock ring and tighten. Torque everything to the kit’s guidance; re-check after the first ride.
4
Install chainring + cranks, then verify chainline
Install the chainring and crank arms supplied with your kit. Spin cranks: no rubbing, no wobble, no frame contact. Check chainline across the cassette.
Why lock rings matter: If the motor rotates loose, you can damage frame paint, wiring, and BB threads. Tighten correctly and re-check after a short shakedown.
Install Steps: Rear Hub Motor Conversion Kit
1
Prepare the motor wheel
Install the rotor (6-bolt or Center Lock as applicable) and torque bolts evenly. Install the cassette/freewheel compatible with your hub motor threading/spline.
2
Remove your old wheel and test-fit the hub wheel
Seat the hub motor axle fully into the dropout slots (it must sit flat and fully engaged). Align the brake rotor into the caliper. Check chain alignment on the cassette/freewheel.
3
Install torque arms (don’t skip)
Torque arms prevent the axle from twisting the dropout under motor load. Install torque arms on at least one side, anchored to a solid frame point. Route the motor cable so it cannot bend sharply or rub the rotor/tyre.
Critical: If the axle does not seat cleanly, do not “grind it until it fits.” Solve compatibility properly or choose a kit designed for your frame standard.
Wiring, Routing, Waterproofing, and Fuse Best Practices
Golden rules of e-bike wiring
- Keep wires away from spokes, rotors, chainrings, cranks, and suspension pivots
- Use strain relief at connectors so vibration doesn’t loosen them
- Protect against abrasion with sleeves and frame tape at rub points
- Keep connectors facing downward where possible so water can’t pool
- Install an inline fuse on the battery positive lead, as close to the battery as practical
First Power-On + Safety Checks
Before you connect the battery:
- All bolts tightened: motor mounts, crank bolts (mid-drive), axle nuts (hub), battery cradle
- Brake rotors not rubbing heavily; wheels spin freely
- Cables cannot touch spokes/rotors/chain at any steering angle
- Speed sensor aligned and magnet passes within a few mm
- No exposed copper; connectors fully seated
First power-on procedure:
- Put the bike in a stable stand with the driven wheel off the ground
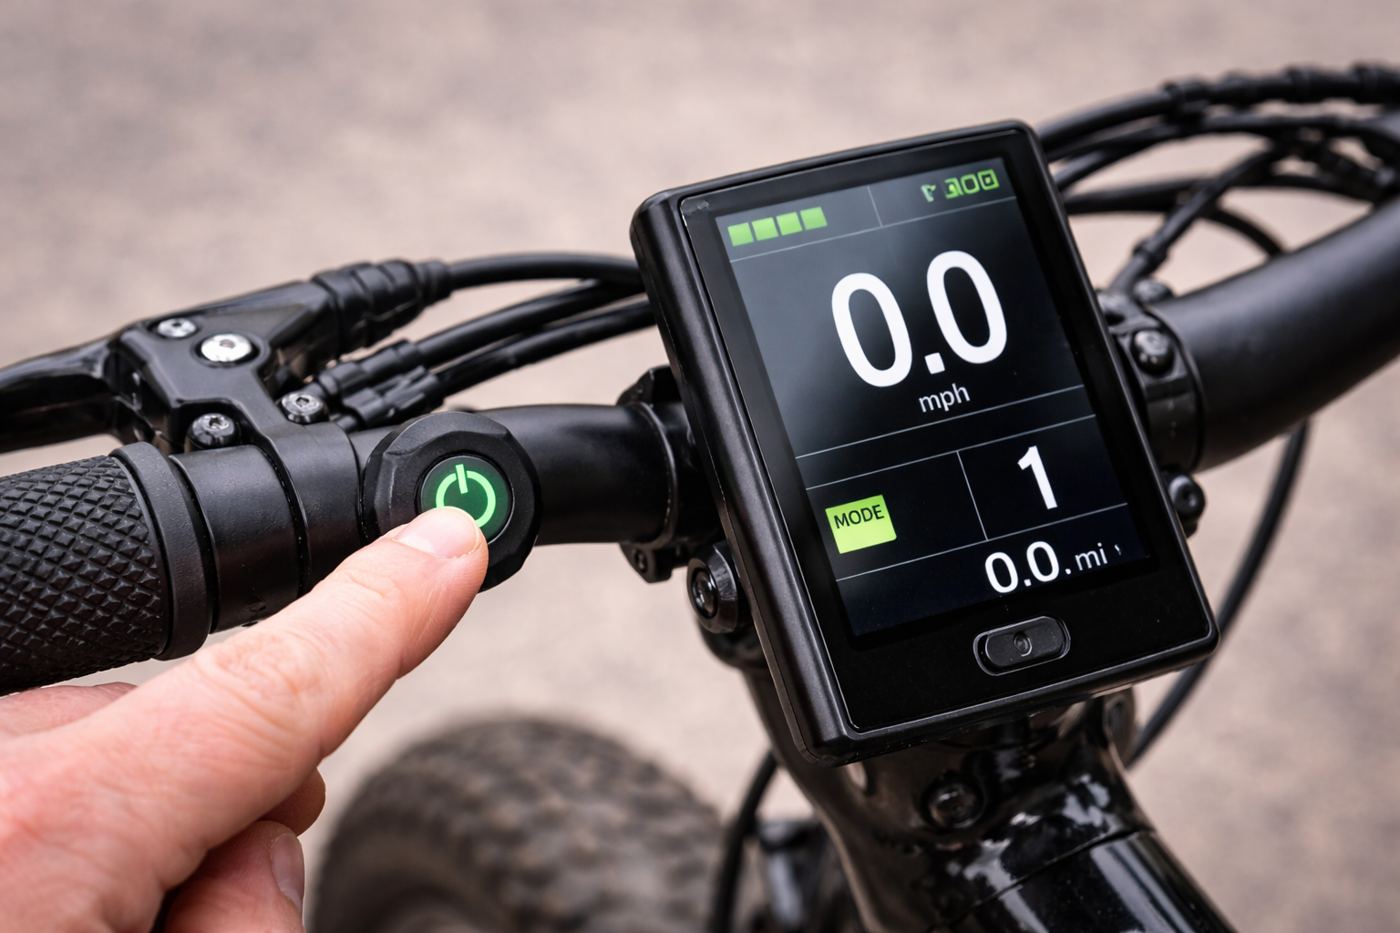
- Connect the battery, then power on the display
- Confirm the display shows battery voltage/level and speed sensor reading
- Test assist/throttle gently with wheel off the ground
- Test brake cutoff: apply brake and confirm motor stops
Setup & Tuning: Assist Levels and Brakes
For commuting / mixed riding
- Lower assist on flat roads to extend range
- Medium assist for headwinds and gentle hills
- Higher assist only when needed
For hills / off-road
- Smoother ramp-up = better traction
- Prefer cadence: downshift early and keep motor spinning
- Mid-drives: ease off power for half a second during shifts
Troubleshooting: Common Problems and Quick Fixes
Display won’t turn on: charge battery, re-seat connectors, inspect and replace fuse.
Motor runs but speed shows 0: align magnet within a few mm, re-mount sensor on chainstay.
Hub motor axle clicks or moves in dropout: install torque arms, torque axle nuts properly.
Mid-drive chain skips under power: replace worn drivetrain parts, adjust chainline, reduce assist while shifting.
Battery cut-outs on bumps: tighten cradle, add strap, inspect cradle contacts, add strain relief.
FAQ
Should I choose a mid-drive or a hub motor for my first conversion?
If you ride steep hills and want efficient climbing, a mid-drive is usually the better experience. If you want a simpler feel and less chain/cassette load, a hub motor can be great — just don’t skip torque arms and compatibility checks.
Where should I mount the battery?
Best is inside the frame triangle or on the downtube for a stable center of gravity. Rear racks are convenient but can rattle and affect handling — especially off-road.
Do I really need torque arms on a hub motor?
In most cases, yes — especially for higher power and any aluminum frame. Torque arms reduce dropout damage risk and keep the axle stable under load.
How do I stop mid-drive conversions from destroying chains?
Use proper shifting technique (ease off power), keep chainline reasonable, replace worn drivetrain parts early, and avoid max assist in the smallest rear cogs where chain angle is extreme.
Want a kit match check? Send us your bike specs on WhatsApp and we’ll point you to the right kit + battery combo.